Loša kvaliteta iPad kamere:rješenja za mutne fotografije s iPada
Vaš iPad jedan je od mnogih praktičnih malih uređaja koji je uvijek uz vas, a zahvaljujući integriranim kamerama izvrstan je alat za snimanje fotografija i videozapisa u pokretu. Nažalost, iPadi su poznati po stvaranju mutnih slika, što također može biti uzrokovano drugim čimbenicima.
Ako posjedujete iPad i oduvijek ste se pitali kako njime snimiti oštre, detaljne fotografije sjajnog izgleda ili ako imate novi problem zamućenja, na pravom ste mjestu.
Postoji nekoliko različitih rješenja za prevladavanje mutnih fotografija s iPada i t Ovo će ovisiti o temeljnim uzrocima. Mutne fotografije mogu biti posljedica prljavog objektiva, nepravilne upotrebe bljeskalice, netočne točke fokusiranja, krhotina u fotoaparatu, lošeg osvjetljenja, korištenja zuma, smetnji s kućištem, statusa HDR-a, problema sa softverom ili nekoliko drugih stvari.
Pročitajte kako biste saznali kako riješiti svaki od ovih problema.
Mutne fotografije zabrinjavaju svakog fotografa bez obzira na vrstu fotoaparata koji koristi jer ih se ne može lako popraviti poput preekspozicije ili podekspozicije. Iako su iPadi lagani i imaju možda jedan od najboljih sustava kamere, podložni su stvaranju mutnih fotografija. Zašto? Dijelom zbog pogrešnih tehnika koje fotograf koristi, a dijelom zbog ograničenja fotoaparata. Oni također mogu biti uzrokovani hardverskim i softverskim problemima o kojima ćemo govoriti kasnije.
Također, neophodno je znati razliku između mutnih fotografija i podrhtavanja fotoaparata. Kada vaše slike izgledaju mutno s malo pokreta na njima, to znači da su vam se ruke pomicale tijekom ekspozicije i ono što vidite je podrhtavanje fotoaparata.
Kako biste izbjegli podrhtavanje fotoaparata, uvijek koristite brzinu zatvarača koja je veća od jedan preko žarišne duljine objektiva i, ako je moguće, koristite tronožac. Više o tome kasnije.
Pogrešna točka fokusiranja
Jedan od kritičnih razloga za snimanje mutnih fotografija s vašim iPadom je netočan odabir točke fokusiranja. Točka fokusa je točka na fotografiji koja se poklapa s točkom autofokusa. Ovo je točka na slici koja je najoštrija. Obično je to predmet fotografije.
Sve što leži na toj žarišnoj ravnini (zamišljenoj ravnini koja prolazi kroz tu fokusnu točku) također je oštro.
Za postizanje fokusa sve što trebate učiniti je nježno dodirnuti onu točnu točku na ekranu gdje želite da kamera fokusira. Ugrađeni objektiv automatski zaključava fokus na tu točku.
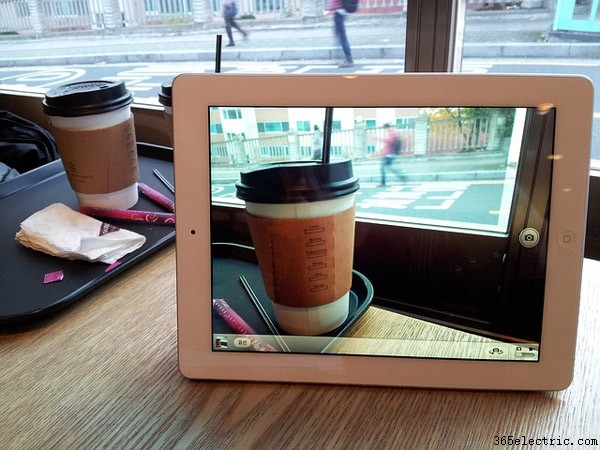
Razlog zašto su vaše fotografije s iPada ponekad mutne je neispravan odabir točke fokusiranja od strane kamere koja koristi autofokus ili od strane fotografa.
Dopustite mi da objasnim.
Recimo da snimate fotografiju pejzaža. Sada, u pejzažnoj slici, očekuje se da će većina okvira biti oštra. To je lako postići u DSLR-u ili bilo kojoj drugoj vrsti fotoaparata gdje možete odabrati mali otvor blende i fokusirati na hiperfokalnoj udaljenosti.
Hiperfokalna udaljenost najbliža je udaljenost na koju se možete fokusirati, a istovremeno osigurati da sve što je u beskonačnosti bude prihvatljivo oštro na slici.
Nažalost, na iPadu ne možete promijeniti otvor blende na zahtjev. Svaka od leća dolazi s jednom fiksnom. Da biste promijenili dubinsku oštrinu svojih kompozicija, morate koristiti različite tehnike, a jedna od tih tehnika je precizno fokusiranje.
Ipak, uvijek možete zaobići problem fiksnog otvora blende pomoću ovih trikova – Za zaobilaženje problema male dubine polja fokusirajte se oko 2/3 u kadar. S druge strane, da biste smanjili dubinsku oštrinu, postavite objekt bliže fotoaparatu, ostavljajući dovoljno prostora između subjekta i pozadine. Više o tome kasnije.
Postoje mnoge aplikacije za izračunavanje hiperfokalne udaljenosti dostupne u trgovinama aplikacija. Ove će vam aplikacije reći točnu udaljenost za žarišnu duljinu objektiva, model fotoaparata i otvor blende na koji treba fokusirati za najveću dubinsku oštrinu.
Ne oslanjajte se na autofokus
Najgora stvar koju možete učiniti kao fotograf je ovisiti o mehanizmu autofokusiranja vašeg iPada. Isto vrijedi za sve fotografe bez obzira na fotoaparat koji možda koriste.
Točku fokusa uvijek odaberite ručno. To će vam dati preciznu kontrolu nad onim na što se želite usredotočiti. Ovo je važno za sve žanrove fotografije od portreta do pejzaža.
Najbolji način da ručno odaberete točku fokusa je da lagano dodirnete točku na kojoj želite zaključati fokus. Međutim, ova tehnika ima kritičan problem. Nemoguće je savršeno umiriti ruke dok snimate slike, a to znači da će se nakon zaključavanja fokusa, ako se kamera pomakne, točka fokusa promijeniti zbog čega će slika biti mutna. Ili će barem željeni subjekt biti mutan.
Kako bi to izbjegli, neki fotografi preferiraju zaključavanje fokusa. Ali čak i tada je teško izbjeći mutnu sliku jer kada zaključate fokus i vaše se ruke pomaknu, kamera ne izoštrava ponovno. Rješenje je u korištenju stativa.
Koristite tronožac
A tripod or some sort of stabilization rig is the best solution for a blur-free image using your iPad. As iPads are larger (and heavier than mobile phones) devices you need special tripod adapters or holders to mount an iPad onto a tripod.
The tripod will give you that much-needed stability for shooting genres like landscape, product, and macro photography, where even the slightest hand movement can become a major issue.
Use flash or other lighting
Poor lighting is another major reason for blurry photos. Your iPad lens works pretty much like a normal lens. That means it excels in bright well-lit conditions. But unlike larger lenses which are designed for interchangeable lens cameras, the smaller lenses on iPads struggle in low light conditions.
What they do is either slow down the shutter to capture a lot of light or use a high ISO number. It is this slowing down of the shutter that causes image blur. To help these cameras make up for their inability to shoot images in low light conditions, it becomes necessary to use external lights.
External lights will help you to fill the gap between what is the optimum light for shooting an image and the available amount of ambient light.
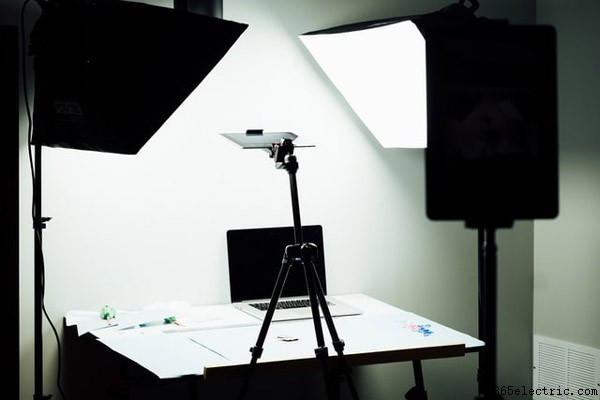
There are many different types of external lights that you can use to make sharp images in low light conditions. External lights can be broadly classified into two – (a) continuous lights and (b) flash/strobe.
Continuous lights, as the name suggests are always on (i.e., when you switch them on). They are easy to use because you capture the same image you see on the LCD screen. But the power of LED lights is lower than strobes.
On the other hand, strobes are more powerful, but difficult to set up. You have to go through a long trial and error curve when setting these up. That means you have to take several test shots to fine-tune the amount of power that you need as well as finalize the angle of light.
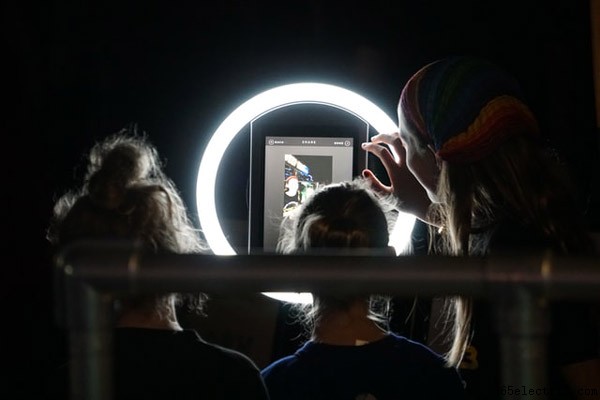
Both these types of lights are more readily available for ‘proper’ cameras, I mean cameras that allow you to change the lens (interchangeable lens cameras). For iPads and mobile phones specially made smaller flash units are designed.
Continuous lights, however, can be used both with mobile phones as well as proper cameras-there are no limits. Here are some lights for tablets.
Be careful with digital zoom
All mobile camera systems as well as iPads come with a fixed focal length lens. These days most mobile devices would have more than one camera at the back (and in some cases in the front as well). This is to bypass the limitation of mobile camera lenses in the sense of their inability to zoom in and out.
So, there would be a standard focal length lens, a long focal length lens, and a short wide-angle lens to capture three different perspectives.
But what if you want to zoom in a bit tighter than what is possible with the built-in zoom lens? You pinch and zoom just like everybody else. Every mobile device comes built-in with a digital zoom feature. It magnifies the image not optically by moving elements inside the camera but by using software that enlarges the image.
You may have noticed that at extreme zooms images appear pixelated. This is the reason for that. These images also appear blurry because they are.
Check interference from case
The reason for blurriness in iPad photos could be as basic as part of the iPad case blocking part of the lens and the device not being able to focus properly. Don’t forget that there are all kinds of sensors on these devices, and not just the lenses themselves. Nothing can be blocked by objects and it doesn’t take a large object to interfere enough to mess up an image.

In addition, the image stabilization function could be adversely affected by a magnetic add-on lens or a metal case. Simply remove any accessories and see if the images improve.
If your case is the issue, you may be able to enlarge the camera opening in the case until the interference is gone. Just dont try it while the iPad is inside your case or you may damage the lens.
Clean your lenses
The issue causing your blurriness may be as simple as a fingerprint from your finger, oil or a dried liquid on your lens.
Clean it carefully with a clean microfiber cloth. Never use random material like a sweater or anything not meant for lens cleaning. Even types of napkins can be abrasive to the sensitive surface of a lens and it is just not worth it to create microscopic scratches on your expensive tablet camera.
Improper use of flash
If your photos look unnaturally bright and of poor quality, check to make sure your flash is not turned on when it should not be. This applies to conditions where the flash should not be going off, such as in daylight. The result may not exactly be blurry photos but you will be able to tell that something is wrong.
To turn off the flash on the iPad, from the Home screen tap on Camera. Tap the Flash icon and turn to Off.
Check HDR status
If you get color that is too bright or double exposure in your images, make sure your HDR (high dynamic range) is turned off. To turn off HDR, go to Settings/Camera or click the HDR letters on the Camera screen.
Look for debris inside lens
Debris may be a reason your camera is taking blurry photos. If you see anything inside the lens that looks like it should not be there or is moving, you need to bring your device to an Apple authorized service center or an Apple Store Genius Bar. You can also contact Apple support at https://support.apple.com/contact
If, on the other hand, it is not debris but condensation from humidity or exposure to moisture, this can also affect image quality. If this is the case, however, you may have moisture in your device in general, and should back up your data before trying drying methods such as silica or rice.
Switch cameras
The front camera is usually lower resolution than the rear camera. If you are getting blurry images using the front camera, try taking the same photo with the rear camera and see if things improve.
This is also a good way to see if just one of the cameras is malfunctioning for some reason, rather than a device wide error.
Restart your device
If all hardware and technique issues have been addressed, it may be a software issue. The first thing you do to diagnose software issues is to restart the device.
To restart your iPad, press volume up or down button and the top button until the slider appears. Slide it and wait for the device to shut down. If it will not, you need to force a shutdown.
To do so on an iPad with no home button, quickly press the volume up button, then do the same for the volume down button. Hold the side/top button until the Apple logo appears.
To do it on an iPad with a home button, hold the home button and power button together until the Apple logo appears.
Inspect your camera App
Try shutting down and restarting your camera App. To do so, go to the app switcher and swipe up on the app. Then reopen it by going to your home screen and tapping on the app.
You can also reinstall your camera app by first deleting it- hold the app down, then click Delete App when an actions menu appears.
Then go to the App Store and search for the app using the exact name of the built in app. Click the button to restore the app.
Another option if you suspect it may be the Camera App causing the issue is to try downloading another app that uses the camera and see if the problem is the Camera App or your iPad. This may be any other third party camera app or any app that uses the camera for some purpose.
Reset your settings
You can try resetting your device settings if the issues persist, but this is less likely to help. While you will not lose your data after doing this, your preferences and settings will disappear.
To do this, you can navigate to Settings/General/Reset/Reset All Settings.
Check for operating system issues
Owners often report getting camera app issues after they upgrade their operating system. You may try rolling back the iOS if nothing else works. Make sure you back up all your data first. To roll back,
On the other hand, there may be a bug in the camera of your current operating system. Since its always good to be up to date on any system updates, check and run any you may find available.
You can update your OS by going to Settings/General/ Software Update.
How do you fix blurry iPad photos already taken?
No one likes a blurry photo, regardless of the camera that they use. When we are faced with a blurry photo the first reaction is can we salvage it? I mean is there a way to make the image appear less blurry? There are. But before I explain a few techniques it is pertinent to note that it is always best to not attempt to fix blurry images unless they are only slightly blurry and you are not looking for perfection.
The easiest way to unblur or make an image appear less blurry is to add some sharpness to it. There are many different photo editing software available that can help you achieve what you want to do. But my first preference is always Adobe Lightroom. Adobe Lightroom has this ‘Sharpening’ tool under Detail that allows you to add some sharpness to your photos.
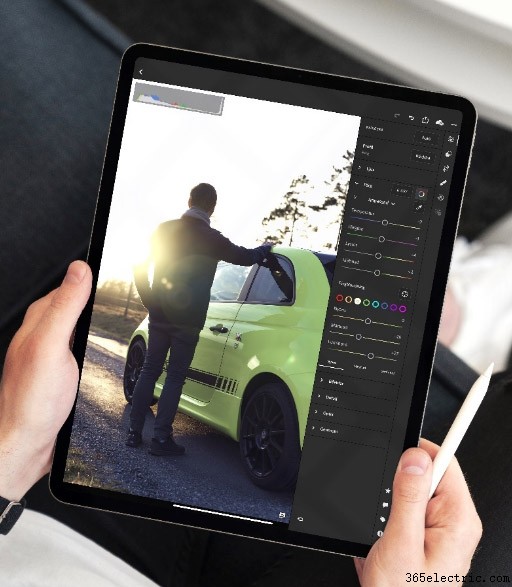
Dragging the sliders will allow you to define how much sharpness you want to add to the photos. Drag the Amount slider to the right and you will find that your image immediately starts to show some artifacts. That is never the right way. So ideally, you would like to keep sharpness down to an acceptable level.
Check out this video by DIY University if you are having other iPad camera problems:
I hope that this comprehensive article helped you get to the bottom of your poor quality iPad photos. If also else fails and you want to keep using an iPad for photography, consider purchasing a new or used one. They are getting more and more affordable.
Between an iPad and an iPhone, the latter is the clear choice for photographic nirvana. Want to know more about how to shoot great images using your iPhone? Check this article.